Quarantine Crafts: How to Make a CDC-Approved Face Mask at Home
We’re back again with some more crafty ideas to keep you busy while quarantined. Whether you’re a pro with a needle and thread or you’re not, we’ve got you covered with two different ways to make beginner-friendly CDC approved face masks - one that requires sewing and one where you only need two materials that you likely already have in your home!
April 21, 2020
With the extra time a lot of us have, as well as, the CDC recommending everyone to wear cloth face coverings in public settings, there’s no better time than now to get crafty and make your own face mask to wear on those days when you absolutely have to leave your home. Along with thoroughly washing your hands and practicing social distancing, face masks are another essential piece to help safely navigate through the COVID-19 pandemic and slow the spread. If you’re ready, we have a list of everything you’ll need and steps on how to make CDC-Approved face mask, so gather all your tools and materials and let’s get started!
*A FEW IMPORTANT THINGS TO NOTE WHEN MAKING A FACE MASK*
Cloth face coverings should:
- Be secured with ties or ear loops
- Fit snug, but comfortable against the side of the face
- Include multiple layers of fabric
- Allow for breathing without restriction
- Be able to be machine washed and dried without damage or change to shape
- NOT use BDU’s since they are chemically treated and shouldn’t be placed around your nose and mouth area to breathe.
- Be washed and dried prior to creating a face mask if recycling previously used garments
SEWN CLOTH FACE MASK
Materials Needed:
- Two 10×6 rectangles of cotton fabric
- Two 6’’ pieces of elastic
Tools Needed:
- Needle and thread
- Scissors
- Sewing Machine
Instructions:
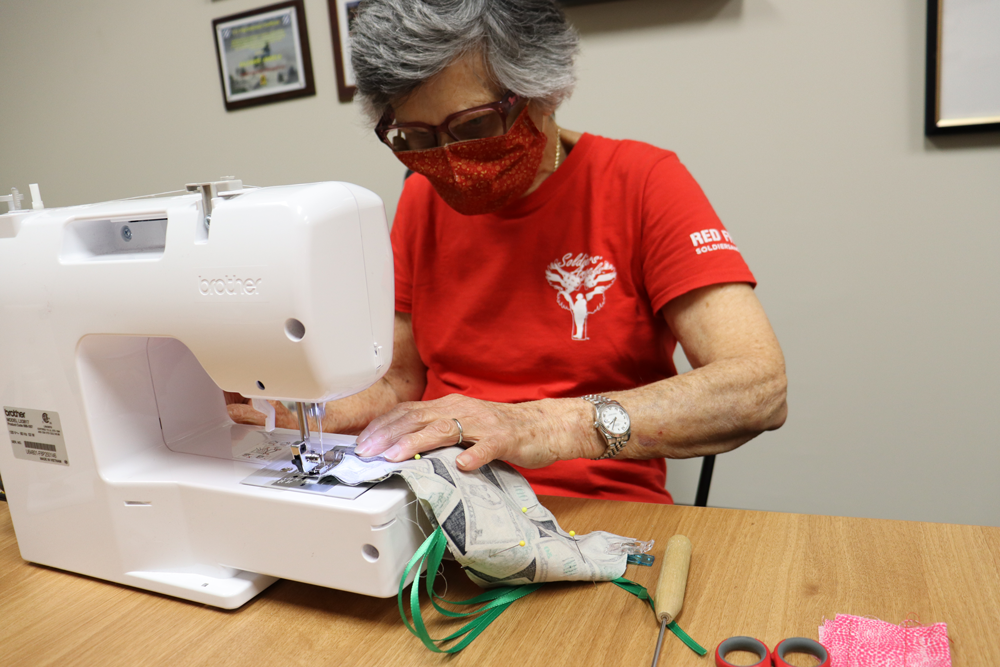
1. Cut out two 10-by-6inch rectangles of cotton fabric. You can use tightly woven cotton, such as quilting fabric or cotton sheets. However, if you’d rather not use the aforementioned materials and have a t-shirt you no longer wear, feel free to use that instead. Stack the two rectangles and sew them together as if it was a single piece of fabric.
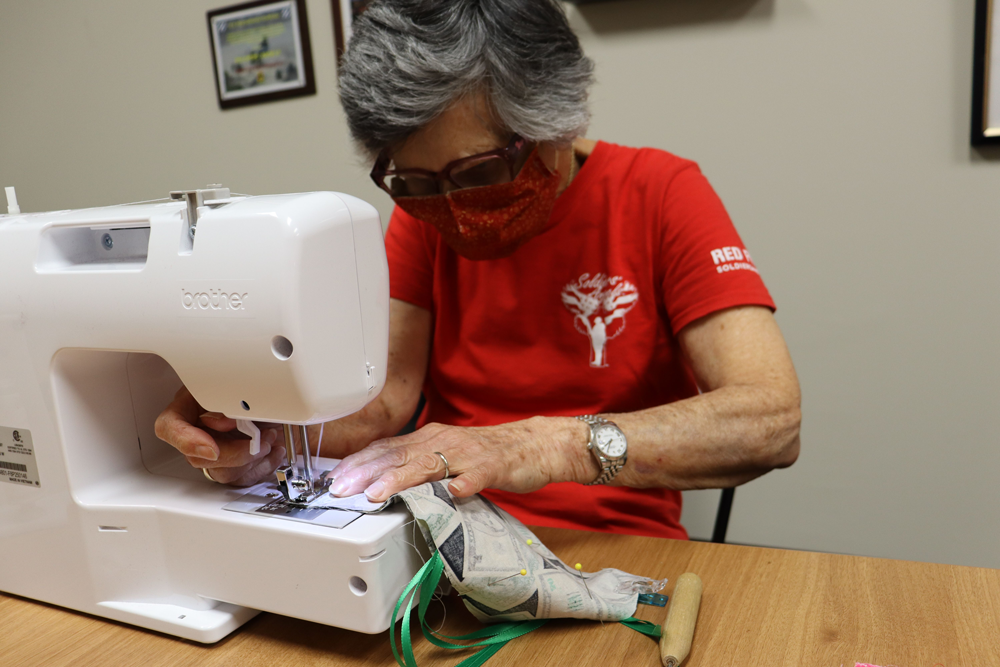
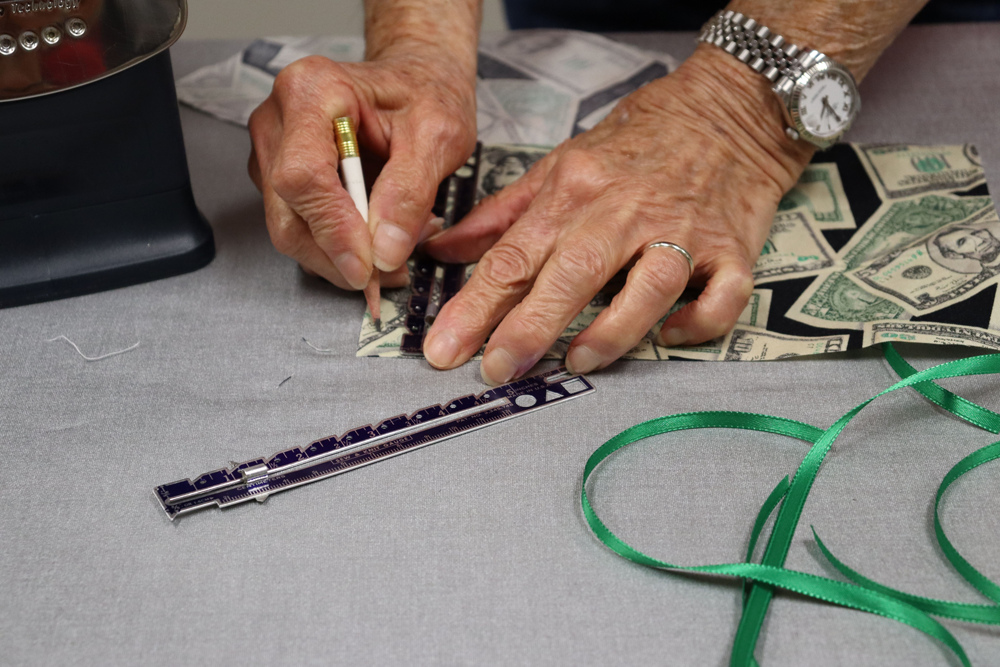
2. Fold over the long sides 1/4 inch and hem. Next, fold the double layer of fabric over 1/2 inch along the short sides and stitch down.
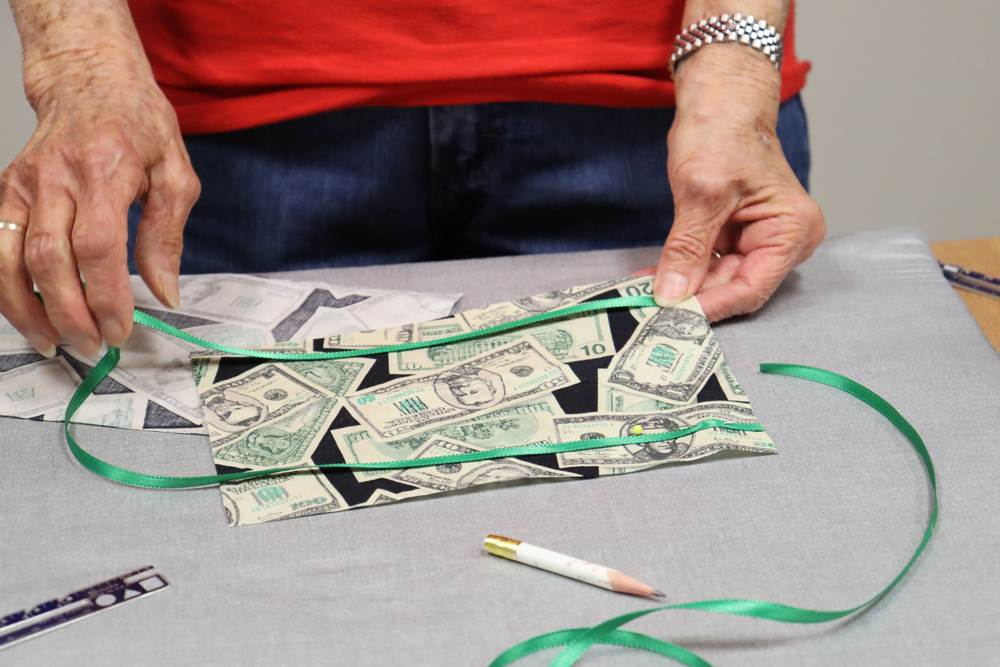
3. Run a 6-inch length of 1/8-inch wide elastic through the wider hem on each side of the mask. These will be the ear loops. Use a large needle to thread it through and tie the ends tight. Lengths of ribbon will also work for this if elastic is not available. If using ribbon, it’s best to have 4 ties total, each near the corner of the mask on the short side.
4. Gently pull on the elastic so that the knots are tucked inside the hem. Gather the sides of the mask on the elastic and adjust so the mask fits your face. Securely stitch the elastic in place to keep it from slipping.
How to make CDC-Approved No-sew face mask
Materials:
- Fabric – T-shirt or scarf
Tools:
- Scissors (if you’re cutting your own cloth)
- Rubber bands or hair ties
Instructions:
- From the bottom of your fabric, fold to the middle.
- From the top of your fabric, fold to the middle.
- Repeat steps one and two again.
- Take your two rubber bands or hair ties and put one on each end.
- Fold both ends to the middle.
- Adjust accordingly to get the right fit.
Source: CDC Youtube
These cloth face coverings are not surgical masks or N-95 respirators but are a great substitute.
How’s your quarantine going? Be sure to tag us on social media if you make a cloth face mask, we’d love to see it!